Users can utilize and explore all of AWS’s various components with a fully working free account from Amazon for one year. AWS services like Amazon EC2 instances, S3, DynamoDB, and so forth are all free to use. On the other hand, due to the resources used, some restrictions apply. To help users better grasp AWS Cloud services and obtain real-world experience, Amazon is offering a variety of services with this AWS Free Tier account, but with some limitations. We’ll explore how to create and set up an AWS Free Tier account in this article.
Get Started with AWS: Creating Amazon Web Services Account
The primary goal of the AWS Free Tier is to provide users with a full year’s worth of free access to AWS Cloud Services so they may gain familiarity with the platform. Every service that is part of the AWS Free Tier account has a use limit that must be met before any fees are incurred.
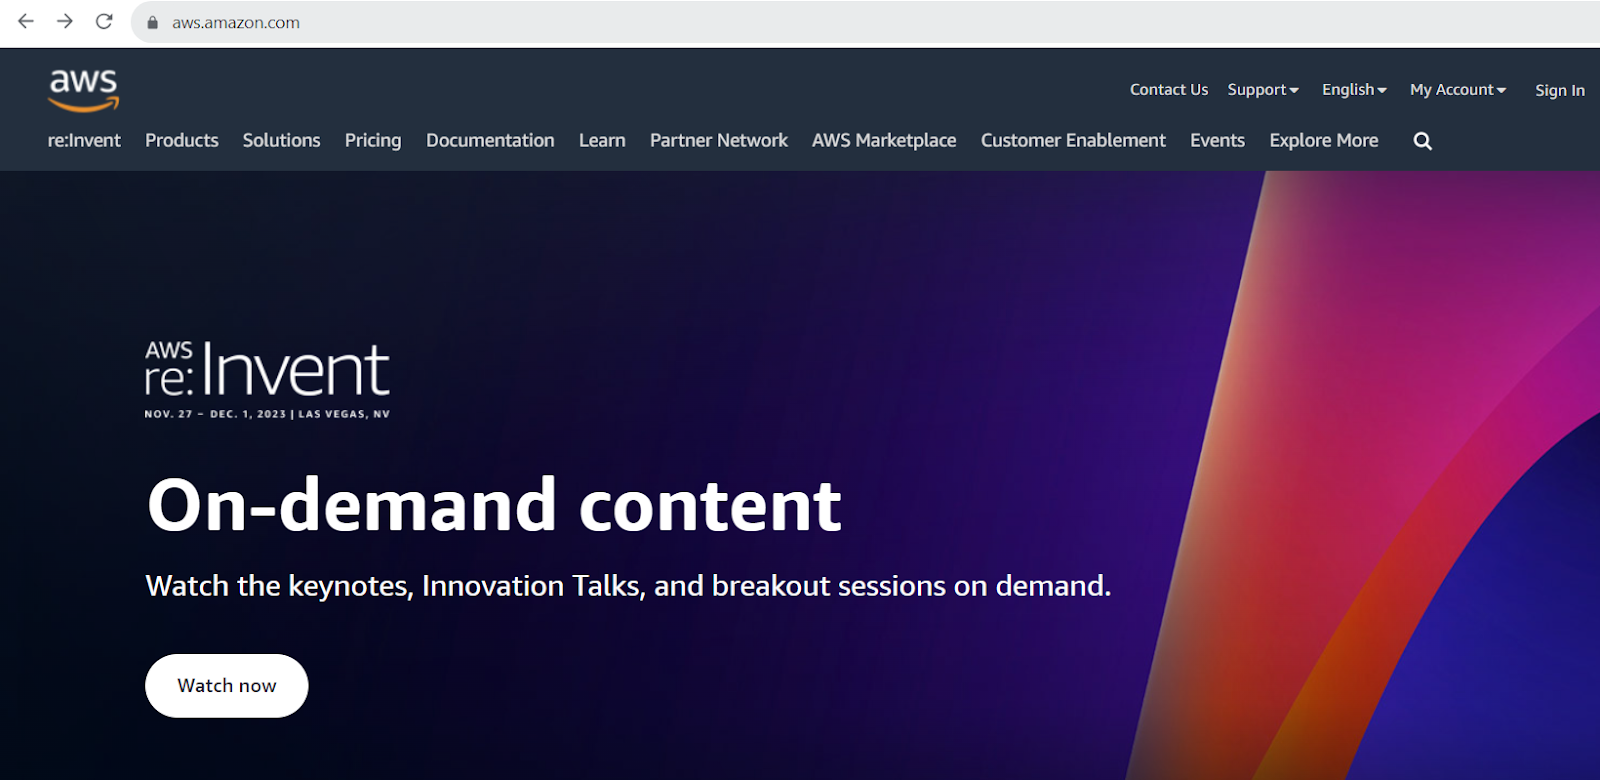
Step 1: Open this link: https://aws.amazon.com, register for a new account, and provide the necessary information to create an AWS account.
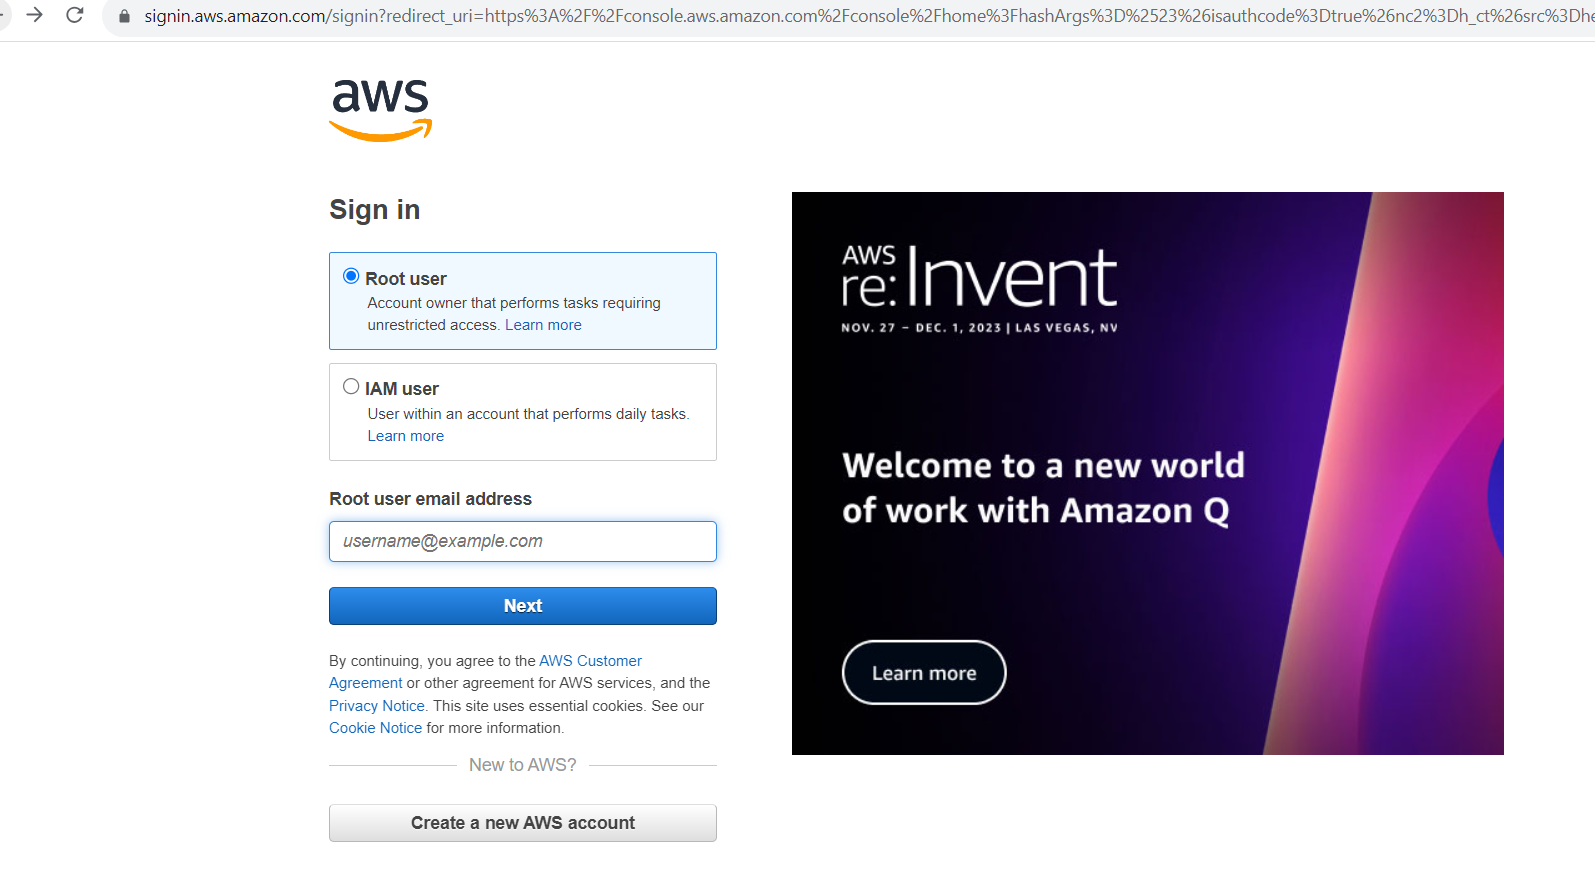
Step 2: Provide your email address. If you already have an Amazon account (the one you use to make purchases on Amazon.com), otherwise, you can choose I’m a new user.
Recommended Read: Amazon Web Console Mobile App
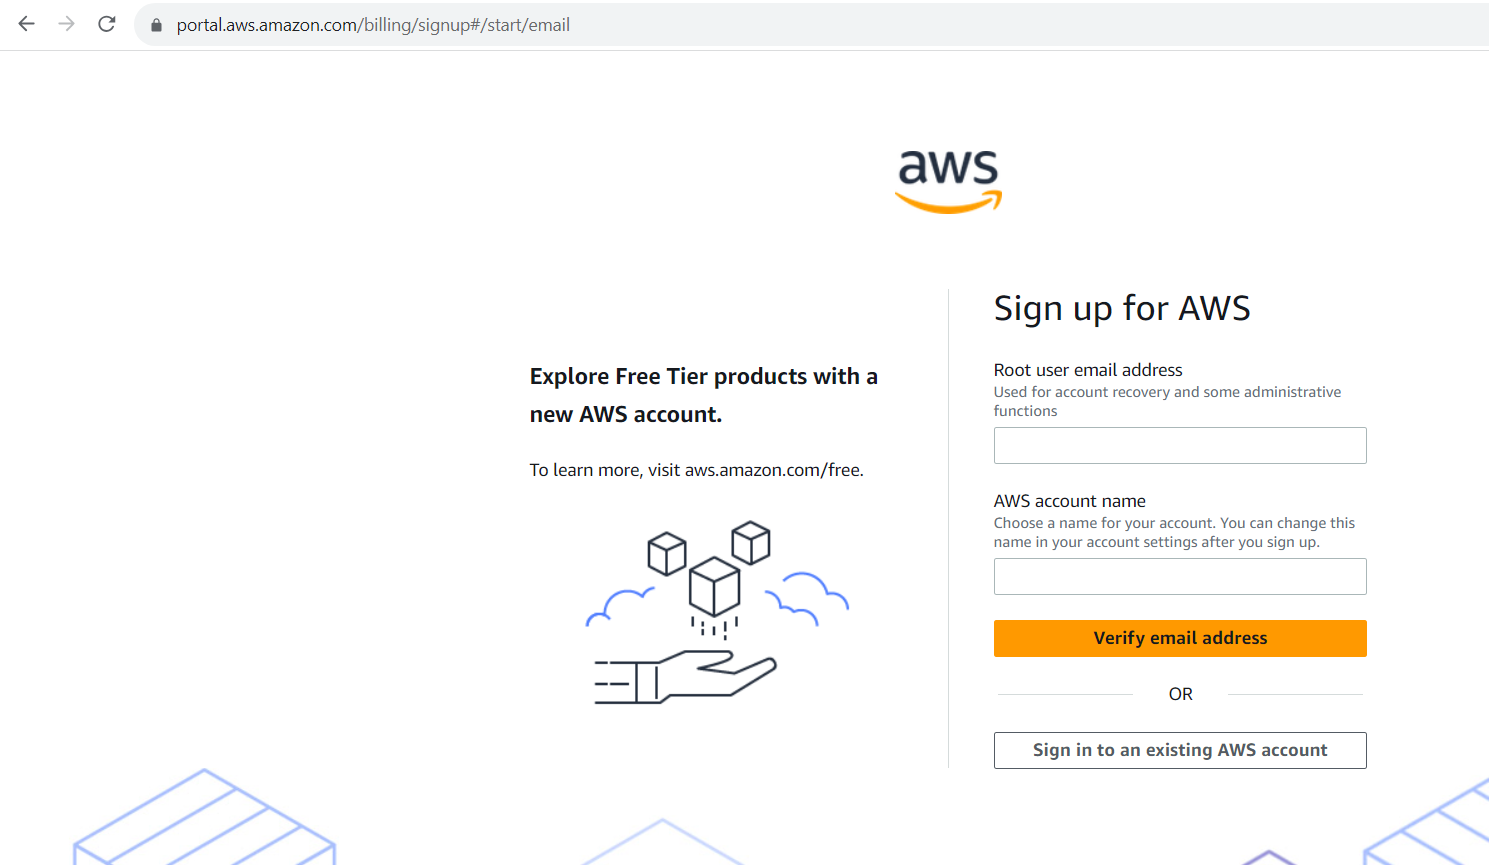
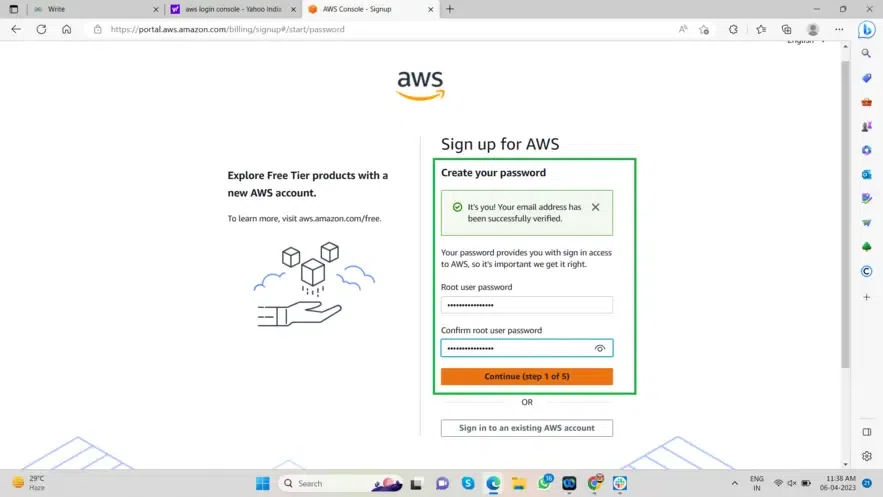
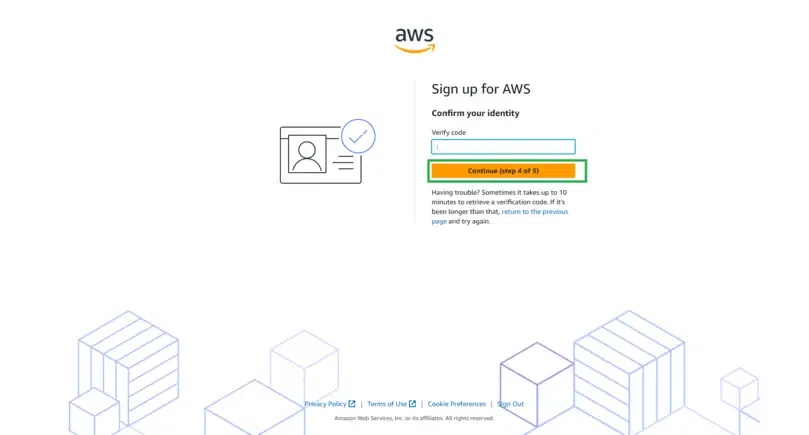
Step 3: Click Create Account after entering the necessary data. We have to verify the email address and submit the name of the AWS account at this point to use the feature that allows us to log into an AWS Free Tyre Account. You will receive a verification code at the address you supplied after selecting “Verify Email Address.”
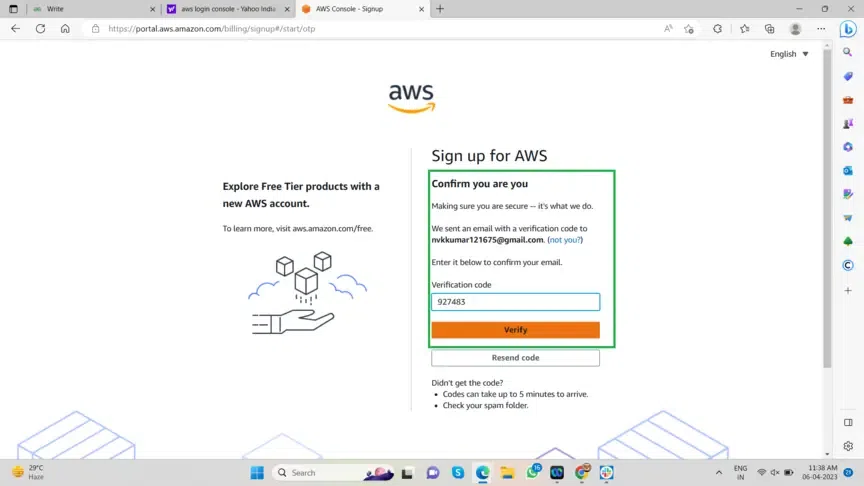
Step 5: The next step is to set this account’s password. Lastly, select “Continue” to go to the next phase. Each stage of the procedure is depicted in the images below. You get a verification code at the email address that you supplied after selecting “Verify Email Address.”
Step 4: Enter the login credentials for your AWS account and select “Continue.” The next step is to set this account’s password. Lastly, select “Continue” to go to the next phase.
Suggested Read: AWS Fresher Jobs in Chennai
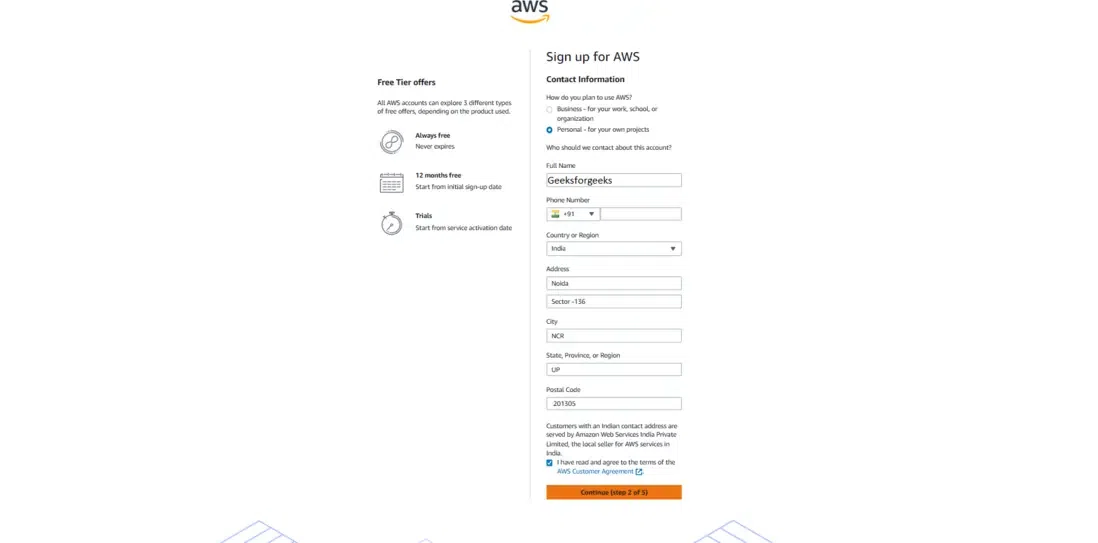
Step 5: Choose Personal Account, then enter your contact details and complete the security verification. Now, click Create Account, and continue when it is completed.
Accelerate your career by exploring the future of cloud computing with AWS training in Chennai
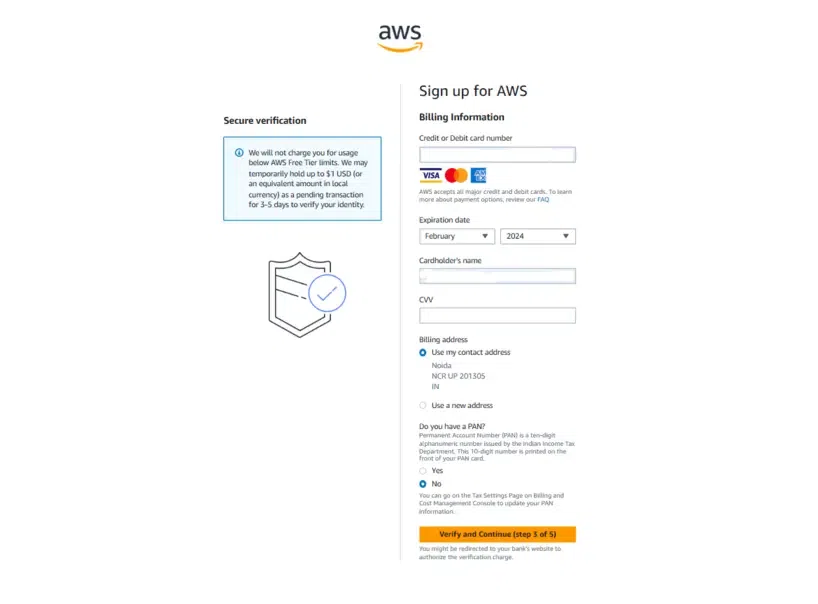
Step 6: Your credit card will not be charged until you start using services above and beyond the Free Tier (if applicable) and any AWS credit codes entered into your account; check the FAQs after gaining access to the AWS Educate portal for any exclusions. Upon completing the AWS Educate signup, all SOU students will receive a $100 credit for AWS via email.
Do you want to master cloud computing? Here is a brief guide to training programs in Chennai.
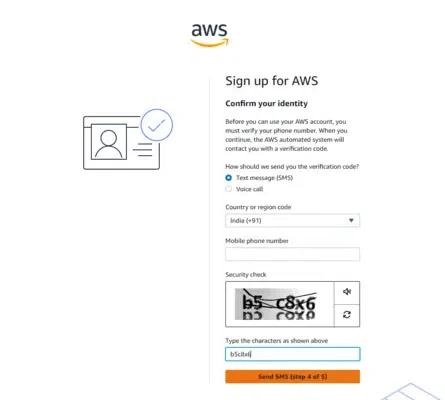
Step 7: To verify your identity, enter your phone number and select Call Me Now. A voice call from Amazon’s automated identification verification system must be able to reach you. A PIN will show up on your screen. When the identity verification system prompts you to enter the PIN, do so.
Step 8: You can proceed with the registration procedure after this is finished.
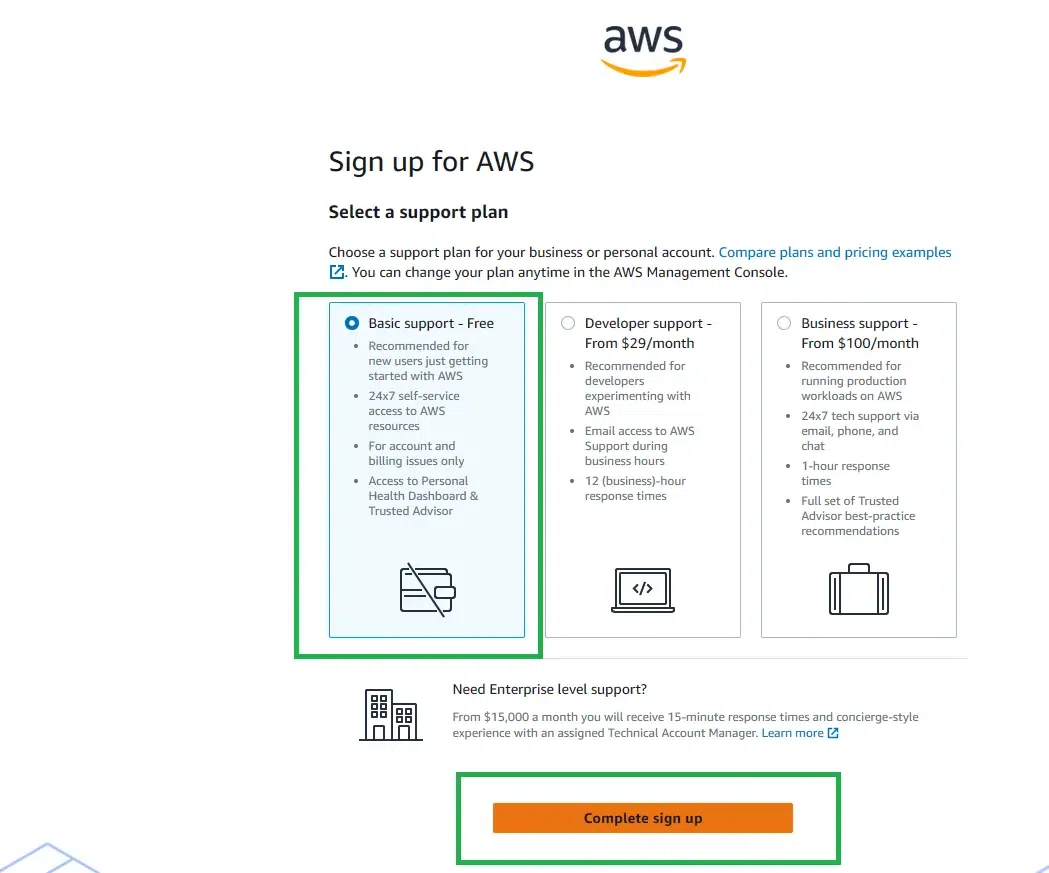
Step 9: Once a support plan has been chosen, click Proceed. The majority of pupils will use the free basic level. AWS credits do not apply to support fees.
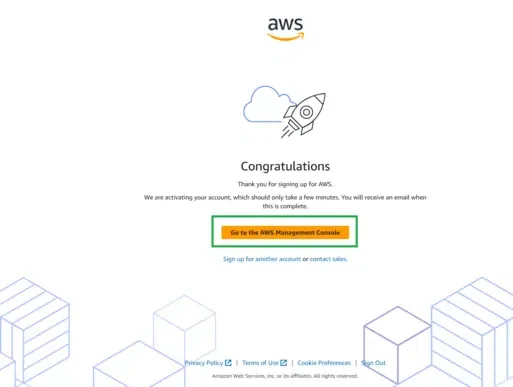
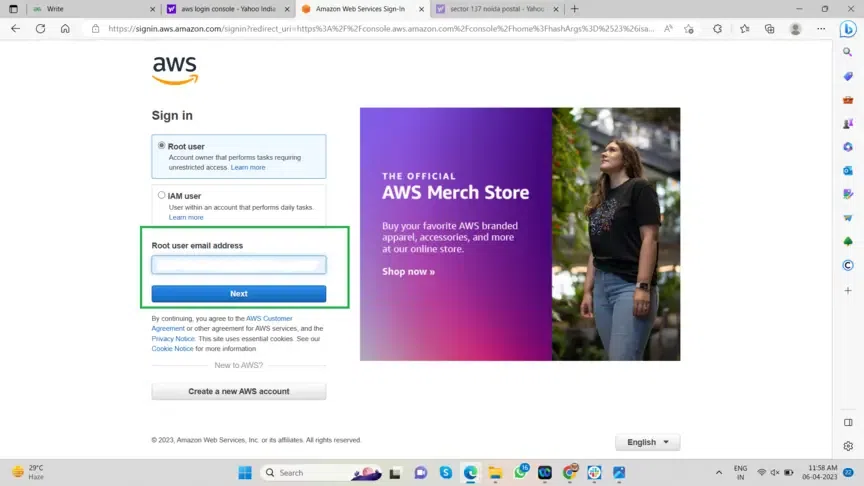
Step 10: You’ll see the AWS login screen once more. Click the console sign-in button.
Step 11: Click on Your Name in the upper right corner, then select My Account after logging in with the newly established account.

Are you confused about choosing the best institute for AWS training? Here is the list of Chennai’s top AWS training institutes with a comparative analysis.
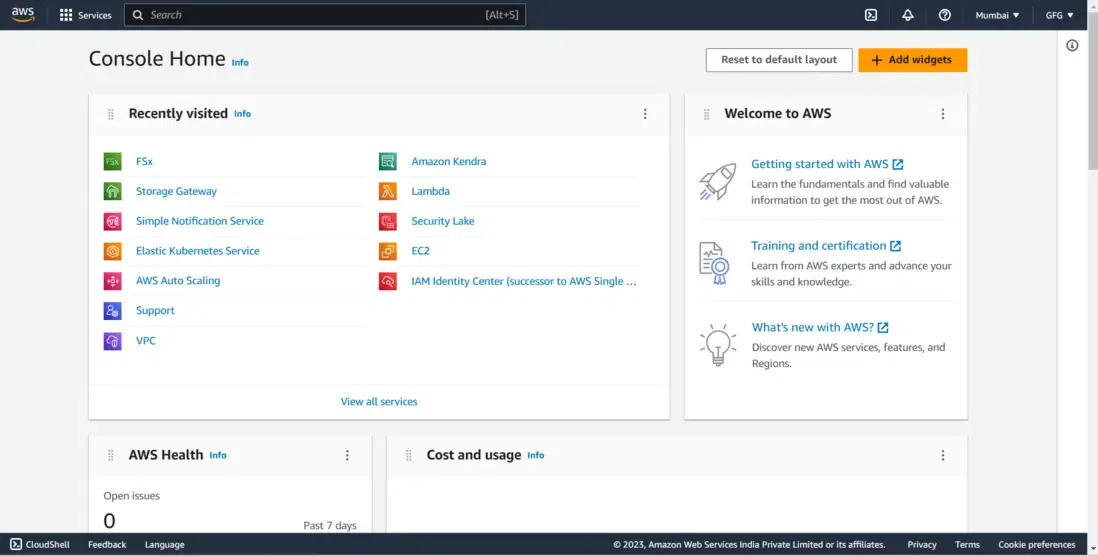
Step 12: Details regarding your account will be shown. Make a note of your account ID. To register for AWS Educate, you will need this ID number. This is the home page of the Amazon Console, where you may access some of the most widely used AWS services, such as AUTOSCALING, VPC, and EC2.
Step 13: We are now prepared to use the services that AWS provides after completing the setup of our AWS Free Tier account.
Limits on Free Tiers
- Scalable monthly 750 hours of processing power from Amazon EC2.
- 5 GB of basic storage on Amazon S3, a reliable, scalable, and secure object storage infrastructure.
- 750 hours per month are allocated for database usage on Amazon RDS (for relevant database engines) Relational database management systems include MySQL, MariaDB, PostgreSQL, and SQL Server.
- 5 GB of storage on Amazon EFS. An accessible shared file storage solution that can grow with Amazon EC2 instances.
- Long-lasting, trustworthy, low-latency block-level storage volumes for EC2 instances are 30 GB of General Purpose (SSD) or Magnetic Elastic Block Storage from Amazon Elastic Store.
Conclusion
All kinds of users are invited to sign up for the AWS Free Tier, including students, small enterprises, entrepreneurs, and Fortune 500 companies. Only one account per organization is eligible for the Free Tier offerings if you are linked to one (under AWS Organizations). Enroll in our AWS training in Chennai and get expertise in cloud computing skills.